


How to prepare bra patterns
How to prepare bra patterns for cutting and sewing. Ready-made patterns of all models of bras are presented on A4 sheets in full size in PDF format without seam allowances.
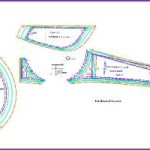
The bra pattern usually looks like the image below. This is a general view, not to scale, to get an idea of the pattern.
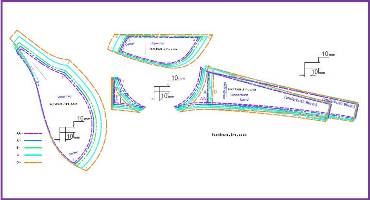
The bra pattern is designed for 5 cup sizes AA, A, B, C, D. Each size is marked with its own color and is distinguished by the hatch.
You will receive a pattern to your e-mail in electronic form on 3-4 sheets, depending on the bra model. You need to print the pattern on A4 paper size or 11″x8.5″ paper size in full size (choose 100% or custom scale).
Save the pattern to your computer or to a flash drive and print it as many times as how much you will need.
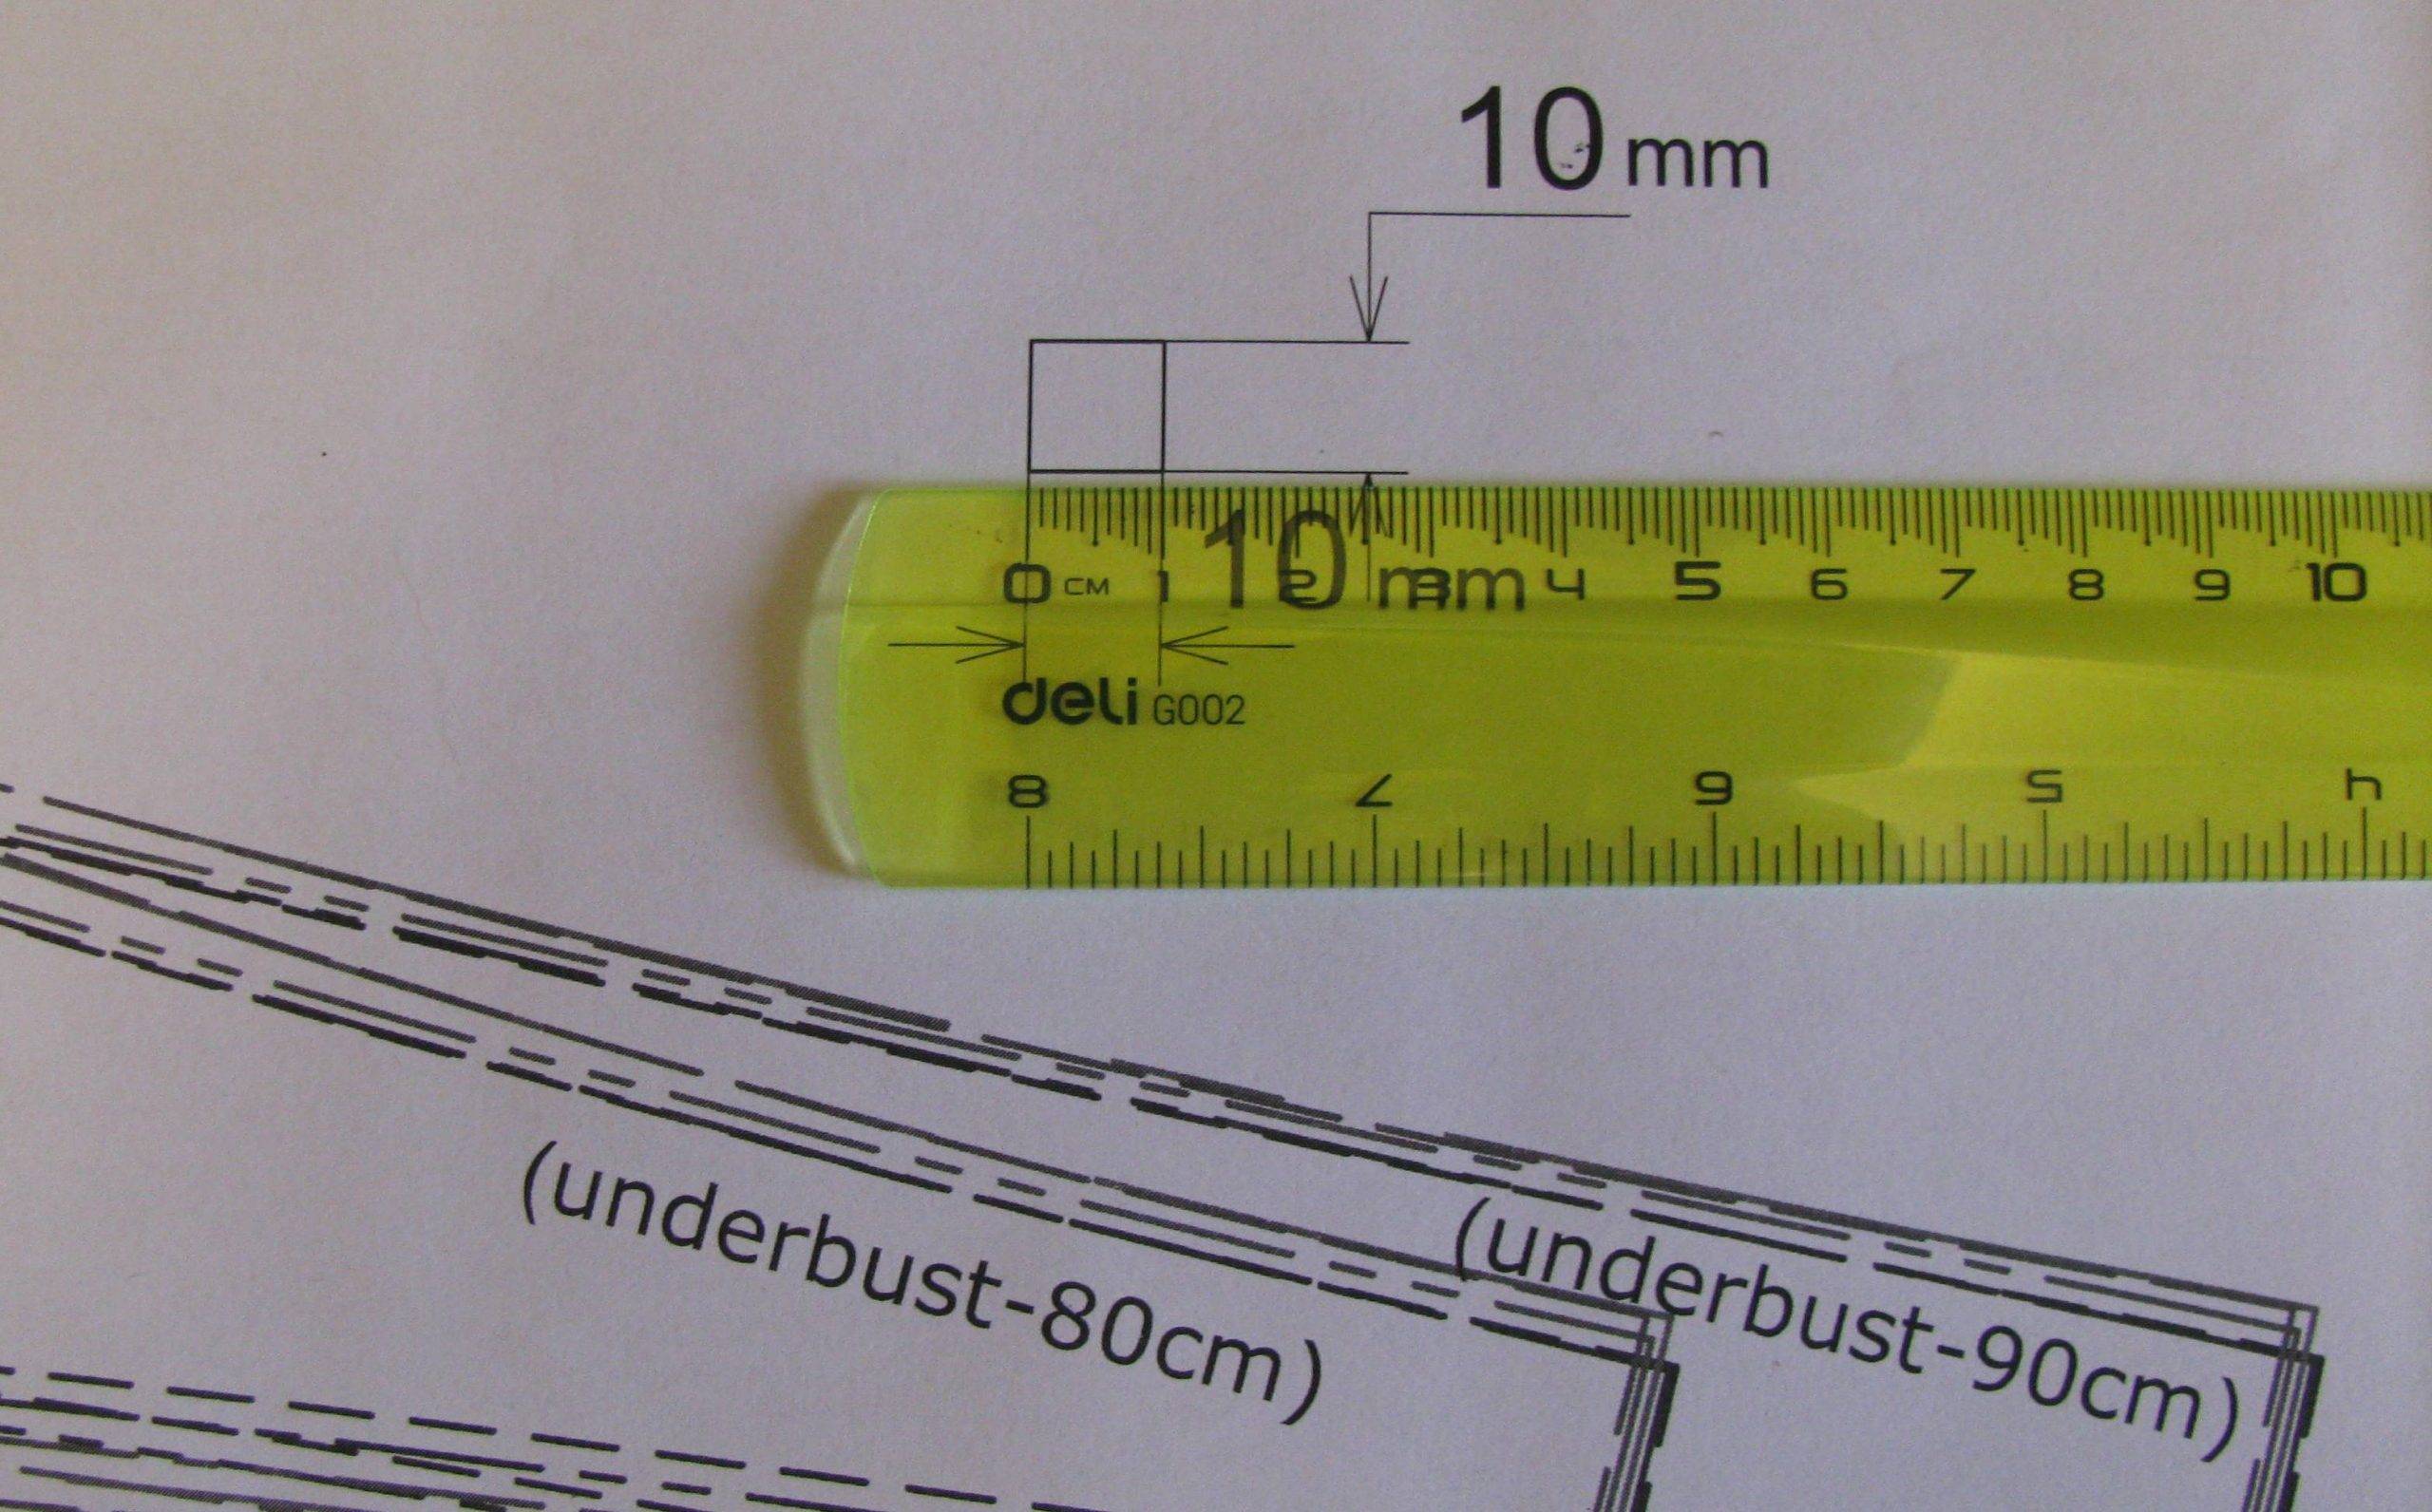
There is a calibration square 10 mm * 10 mm (1 cm * 1 cm), usually on the 3rd sheet. After you have printed the pattern, check if it is printed correctly. Measure both sides of the square with a ruler, it should be 1 cm * 1 cm.
Choose your bra size.
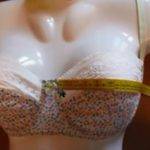
Measure the horizontal arc of the breast. To do this, we lay a soft centimeter tape between the two points of the base of the breast through the center of the breast, as shown in the photo below. According to the length of the measured horizontal arc, choose your bra cup size.
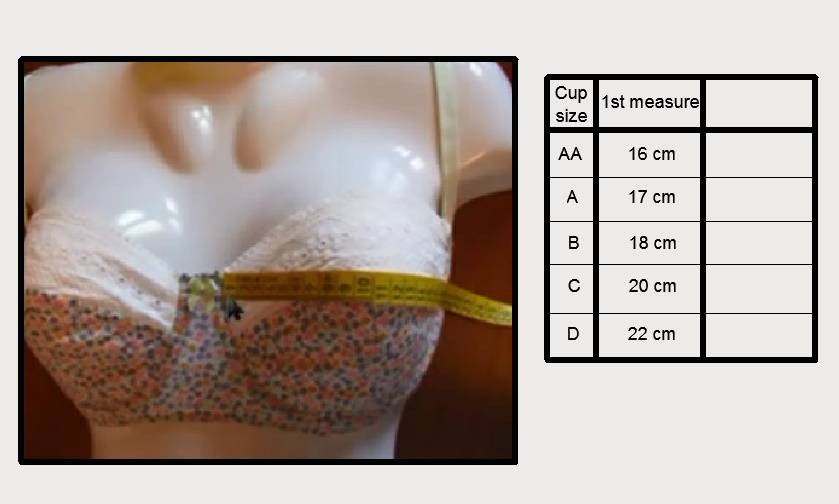
For example, the length of the horizontal arc is 22 cm, which means the cup size is “D”. Choose a pattern of size “D”.
Measure your body circumference under the bust. If your girth is 90 cm, then cut out the underbust band of 90 cm. If necessary, the length of the underbust band can be independently increased or decreased when cutting.
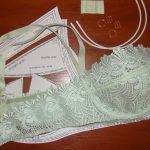
And cut out the pattern.
The underbust band is located on two A4 sheets, so it must be glued along the “D” line or along the “straight grain” line.
All bra patterns are designed for inelastic fabrics.
The pattern is ready for cutting the bra.